Explore the possibility of installing your HVAC system on your own. This comprehensive guide will walk you through the crucial steps and considerations for a successful DIY HVAC installation. Not only can you save money on professional services, but you gain valuable insight into the workings of your home’s ventilation.
By following a systematic approach, you can ensure a reliable and efficient system. However, it’s important to acknowledge the complexity involved and be prepared for the challenges that may arise. With dedication, the right tools, and adherence to guidelines, you can successfully complete your HVAC installation.
1. What are the Necessary Tools and Equipment for DIY HVAC Installation?
Embarking on a DIY HVAC installation requires a well-stocked toolkit tailored for the task. First, ensure you have protective gear such as gloves and goggles to safeguard yourself against potential hazards. A list of critical tools includes a drill, a set of wrenches, screwdrivers, and a reliable voltage tester. Additionally, an HVAC refrigerant gauge and digital multimeter can be invaluable for ensuring accuracy during installation. Investing in quality tools not only simplifies the installation but also ensures safety and efficiency.
Beyond basic tools, specific equipment facilitates the seamless installation of your HVAC system. Acquiring a duct crimper and HVAC foil tape will be essential for working with ducts efficiently. A vacuum pump is necessary to ensure the cooling ducts are free from moisture and contaminates before activation. It is also advisable to have an adjustable ladder for reaching elevated areas, which is often required in attic or rooftop installations. These specialized tools streamline the installation process and guarantee long-lasting results.
Take care when handling wired connections and circuitry during the installation phase. Thoroughly review the manufacturer’s manual and ensure you understand the wire color coding and electrical schematics. Always follow safety protocols, such as switching off the main power supply when dealing with electrical components. Tools like wire strippers and voltage detectors are indispensable for maintaining safe electrical practices. By preparing thoroughly beforehand, you reduce the risks associated with DIY HVAC installation.
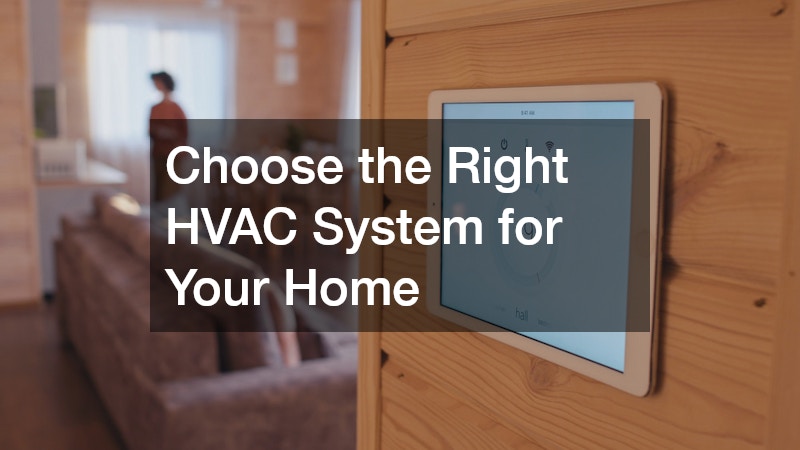
2. How to Choose the Right HVAC System for Your Home?
Selecting the appropriate HVAC system for your home begins with evaluating your specific needs. Consider the climate you live in; colder regions may require a more robust heating component, while hotter areas will benefit from high-efficiency cooling. It is essential to calculate the square footage of the space you intend to service, as this directly impacts the system size needed. Overestimating or underestimating the required capacity can lead to inefficiency and increased energy costs. Leveraging online calculators and consulting with experts can provide more precise perspectives for your needs.
Aside from capacity, energy efficiency is a critical consideration when choosing an HVAC system. High-efficiency models tend to have higher initial costs, but their long-term energy savings often justify the expense. Look for systems with Energy Star ratings, as these have met strict energy efficiency guidelines. The Seasonal Energy Efficiency Ratio (SEER) rating is also a key indicator of how effectively the system will operate under specific conditions. Opting for energy-efficient solutions contributes to cost savings and environmental benefits.
Your home’s existing infrastructure plays a significant role in choosing an HVAC system. Assess if your current ductwork will suffice or if modifications are necessary for the new system. Furthermore, consider compatibility with smart home systems, as many modern HVAC units offer connectivity that allows remote control and monitoring via smartphones. Before making a purchase, ensure the installation location is optimal for air distribution and accessibility for maintenance purposes. Taking these factors into account helps you choose an HVAC system that best suits your home.
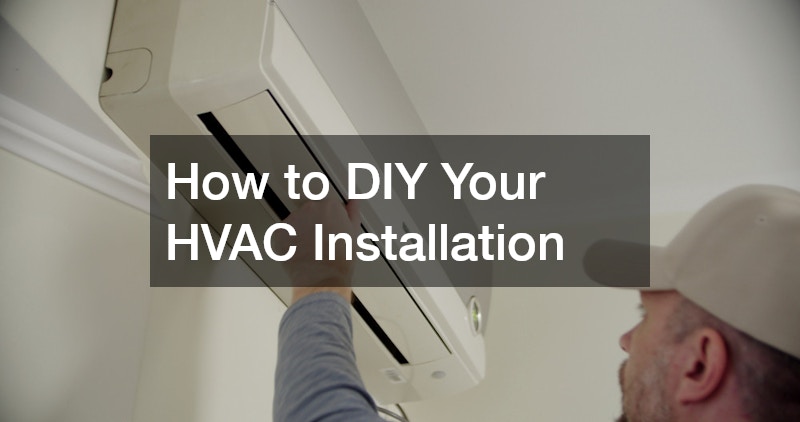
3. What are the Steps to Install an HVAC System?
Installing an HVAC system involves deliberate planning and meticulous execution of each step. Initially, remove any old equipment, ensuring that all refrigerant lines are professionally evacuated to prevent environmental harm. Prepare the space for your new unit, which includes making adjustments to ducts and mounts. The installation process starts by securing the condenser unit outside, which requires a stable, level surface free from obstructions. Once positioned, connect the unit to its indoor counterpart via robust copper tubing and electrical wiring.
With the connections established, the next stage involves setting up the internal air handler. This component is typically placed in a basement, attic, or dedicated mechanical room. Securely mount the unit and fasten supporting brackets and dampers to counteract vibrations and noise. Connect the ductwork to the air handler, ensuring airtight seals to maximize efficiency. This process can be complex, so double-check connections to ensure adequate airflow without leaks.
Finalizing the installation encompasses several critical tasks to ensure operational integrity. Initiate a full system vacuum using a vacuum pump to clear moisture and air from the refrigerant lines. Charge the system with refrigerant as per the manufacturer’s guidelines while monitoring pressure accurately with a refrigerant gauge. Implement a thorough run of the system, testing both the heating and cooling functions while checking thermostat responses. Address any anomalies or performance issues during this phase, as early detection is crucial for long-term reliability.
4. What Are Common Mistakes to Avoid During DIY HVAC Installation?
Avoiding common pitfalls can significantly improve the outcome of your DIY HVAC project. One frequent error is neglecting to size the equipment correctly; an oversized or undersized unit leads to comfort issues and inefficiencies. Before purchase, double-check calculations and consider expert guidance if uncertain. Improper sealing of ducts is another prevalent mistake that can cause air to escape, resulting in energy waste and performance issues. Utilize HVAC foil tape and mastic sealant to prevent leaks thoroughly.
Another essential consideration is the proper refrigerant charge. Incorrect levels can cause the system to underperform or even fail, with potential impacts on warranty coverage. Always adhere to manufacturer specifications and utilize precise measuring tools. Electrical missteps, such as incorrect wiring, pose both functionality and safety concerns. Before commencing connections, have detailed circuit diagrams handy, and never ignore local electrical codes and standards.
A lack of final system testing is a mistake that can lead to future operational headaches. Ensure all system functions are thoroughly tested, including heating, cooling, and ventilation. The performance of thermostats and sensors should be closely monitored to verify correct installation. Lastly, neglecting regular maintenance post-installation, such as filter changes and inspections, is a sure path to premature system failure. Adopting a proactive maintenance schedule prolongs the life of your HVAC system and maintains optimal performance.
5. How Can You Maintain Your HVAC System After Installation?
Effective post-installation maintenance ensures your HVAC system continues to run smoothly and efficiently. Regularly changing the air filters is one of the simplest yet crucial maintenance tasks. Over time, filters become clogged with dust and debris, impeding airflow and reducing efficiency. Checking and cleaning filters every month is recommended, especially during peak seasons of usage. Prompt filter replacements contribute to cleaner air within your home and prevent excessive strain on the system.
Inspecting and cleaning ductwork is vital for the long-term functionality and efficiency of the HVAC system. Accumulated dust, mold, and other allergens can circulate through your home, impacting air quality and exacerbating health issues. Periodic inspections and professional cleanings, approximately every three to five years, help maintain duct integrity and improve efficiency. Additionally, sealing any visible leaks with HVAC tape ensures that conditioned air is confined to its intended pathways, enhancing performance.
Beyond routine checks, scheduling professional maintenance annually is a prudent measure to identify and rectify potential issues. Technicians can assess refrigerant levels, efficiency, and the overall health of the system. They provide critical assessments that a layperson might overlook, ensuring optimum performance throughout the year. Furthermore, a service agreement with a professional can offer peace of mind, knowing your HVAC system is in capable hands. Consistent maintenance not only extends the life of your system but also optimizes energy consumption, saving you money in the long run.
Successfully installing your HVAC system can be a complex task, but with the right tools, a methodical approach, and attention to detail, it is achievable. Always ensure safety and compliance with local regulations while undertaking this project. Remember that every step, from selecting the system to conducting regular maintenance, plays a vital role in the lifecycle and effectiveness of your HVAC unit. By avoiding common pitfalls and seeking expert advice when necessary, your DIY project can lead to substantial savings and an enhanced understanding of home management. Ultimately, the dedication and effort invested into proper installation and upkeep yield continuous benefits in comfort and energy efficiency.